
Click the image for a better view:
Front / top view:

Click the image for a better view:
Front view:

Click the image for a better view:
Pot rack / foot rack:

Click the image for a better view:
Fire doors closed:

Click the image for a better view:
Bottom fire door open for hotter burn (more oxygen):

Click the image for a better view:
Top fire door open for fuel load or an even hotter burn:

Click the image for a better view:
Small amount of cosmetic pitting but nothing too bad:

Click the image for a better view:
Hot plate removal tour:

Click the image for a better view:
Hot plate removal tour:

Click the image for a better view:
Hot plate removal tour:
Wetback visible left, rear & right of grate (fire sits in the weback jacket):

Click the image for a better view:
Hot plate removal tour:
The grate is great! (I had to say that :)

Click the image for a better view:
Oven bypass lever in; normal operation. Hot flue gasses circulate 5 sides of the oven:

Click the image for a better view:
Oven bypass lever out; fire start mode. Hot flue gasses bypass the oven (well it hits the firebox side) & goes up the chimney. This is done as initally the chimney is cold & doesn't draw (suck). Once the flue is hot, you can close the bypass and the hot flue gasses can be sucked over, down, under & behind the oven & up the chimney.:

Click the image for a better view:
Ash pan in:

Click the image for a better view:
Ash pan partially out:

Click the image for a better view:
Rack view:
There are a couple of soft dents on the upper part of the flue. They're small / soft and are at the back of the stove up high so are not normally visible. Here I've flood lit from below the rack & flue hence the unusual orange/yellow colour.

Click the image for a better view:
Hot plate lifter tool. Repair in background:

Click the image for a better view:
Flue open: Increase airflow for a hotter burn.
Small chip off the bottom of one of the splash guards:

Click the image for a better view:
Flue constricted: Cooler / slower burn.

Click the image for a better view:
Inside the oven:

Click the image for a better view:
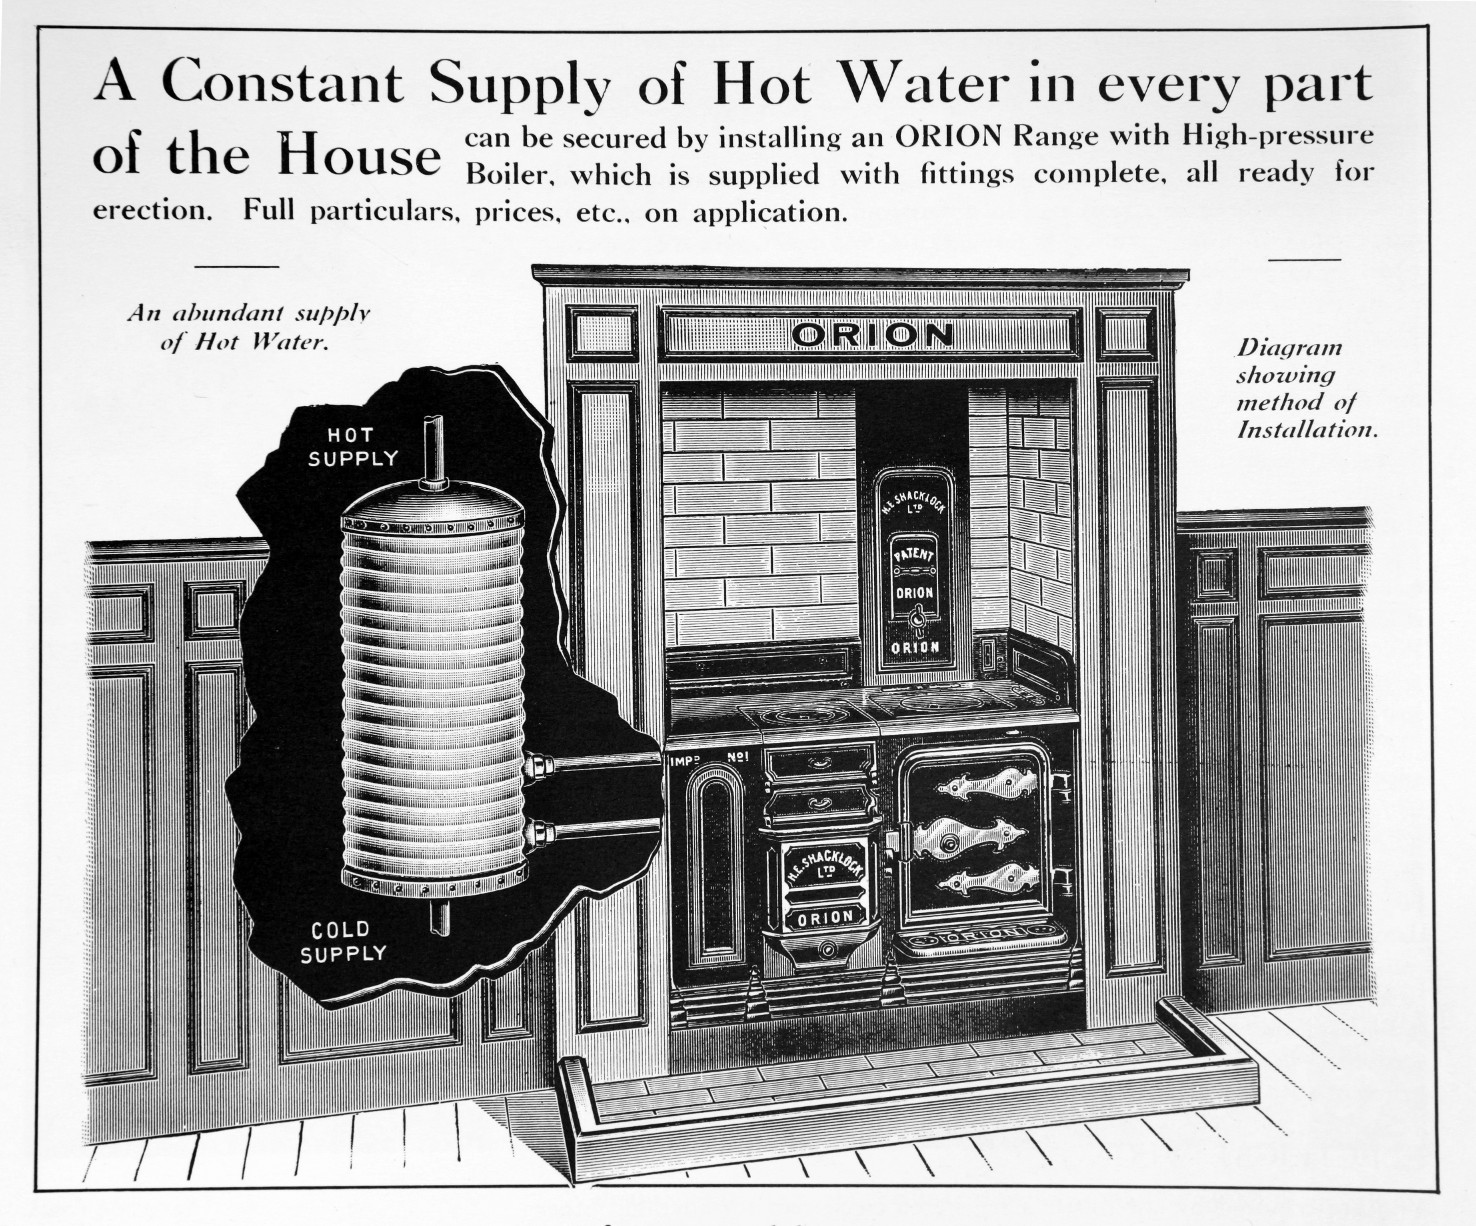
Rear view right side. Wetback (a water heating 'U' shaped "jacket" that envelops the fire) connections visible:

Click the image for a better view:
Rear view left side:

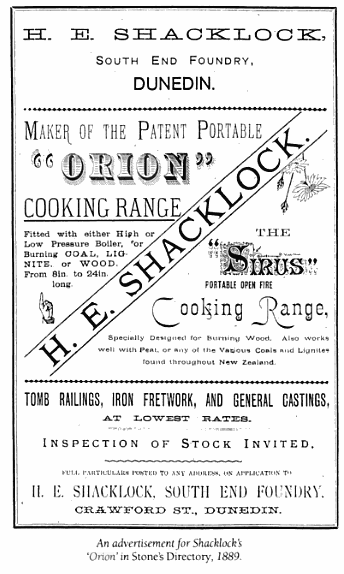
Click the image for the source:

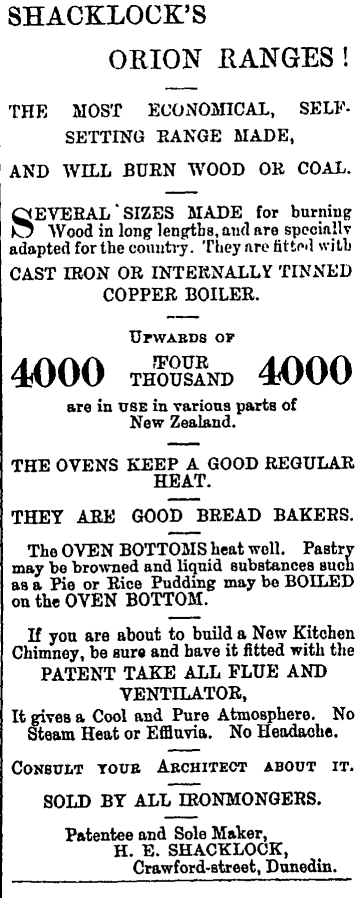
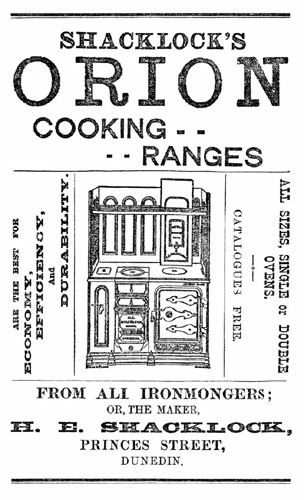
Click the image for the source:


An Auckland based company that sells all coal range related stuff: Broady's
Te Ara Encyclopedia of New Zealand
Dictionary of New Zealand Biography
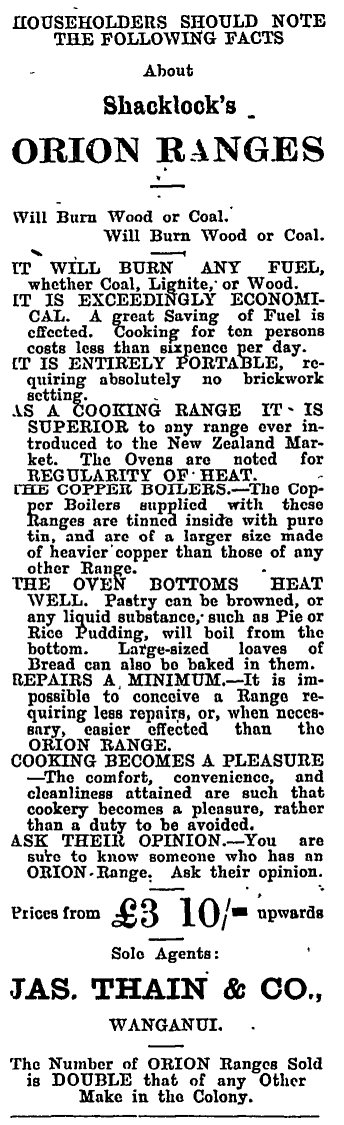

COAL OVENS. |
Coal range. |
INSTALLATION AND OPERATION OF A Shacklock '501' * THE '501' RANGE has been designed with a very much greater degree of air control than any of its predecessors, and thus will not only operate on much less fuel, but can also be left burning quietly for very long periods without the fire going out. This excellent feature does, however, mean that it has to be installed with a much greater attention to detail than our earlier ranges. Time spent when installing the range to ensure that there are no air leaks into the chimney will be rewarded by economy and satisfaction in its use. The salient point is that air should only enter the system through the air intake. No air should leave the top of the chimney which has not travelled through the fire. Hence a perfect air seal around the body of the range is desireable for utmost efficiency and economy. GENERAL INFORMATION 1. Unit to be installed to N.Z. Standard7421 (1985)2918 2. Check with your local building inspector as to the need for a building permit and complience with any special bylaws. Notify your insurance company that a coal range has been installed. 3. Unit must be installed by a qualified plumber. SEALING RANGE 1. When the range is put into the chimney opening with enamel top removed, all free spaces around the range should be filled with gravel or 'K' wool - anything but concrete or beach sand. The space between H.W. cylinder and range boiler pipes through the wall can also be filled. The edges and down the sides of range can be sealed with plaster or putty. 2. It is also very important to seal inside where the flue sits on top of range. The gap between steel flue and cast spigot. Access to this is made by removing the soot door and wing damper in flue. Be careful to hold wing damper when removing soot door as it is possible for wing damper to drop into flue and is very difficult to retrieve from base of range. 3. The register sheet must be airtight. Seal all gaps. 4. The flue must have clear exit into the chimney. Must not be blocked by protruding brickwork or mortar. Should be sealed where it penetrates register. 5. It is extremely important that the round copper pipes between H.W. cylinder and boiler or range are not less than 32mm dia (1 1/4") any reduction will cause efficiency loss and damage to the stainless steel wetback. Also voids any guarantee. --------------------------------------------------------------------INBUILT MODEL A 920 wide (range masonry gap) B 520 deep (range masonry gap) C 1350 high (range masonry gap) D 50mm thick (hearth) E 300 deep (hearth) -------------------------------------------------------------------
Shacklock Coal Range Instruction Manual
OPERATION OF RANGE -- 1. Ashbox Door Air Control - Open to full extent first lighting fire. Close required amount of air flow needed for normal use. Close completely for overnight banking. Experience with various fuels will show to what degree it may be shut. 2. Direct Damper Over Oven - Pull forward to open. It is only used to bring fire up quickly. Must be pushed fully closed when cooking. Do not leave fully open for long periods. 3. Flue Wing Damper - When handle vertical it is fully open and closed when horizontal. This is the control for the range and can be fully closed to bank fire. 4. Heat indicator on oven door is a visual measure of heat rather than a thermometer. In other words, should be treated as such and used in the light of owners cooking experience with the range. 5. Stoking - Firebox should be fed through the firedoor rather than the top. Fuel should not (if using coal) be allowed to be higher than the side of basket wall next to oven. The will give best heat and not cause unnecessary build-up of soot. Greater economy will be achieved. The motto is "a little more often than a lot at one time" CLEANING The air passages in the range and flue must be kept clear. The quality of fuel in use determines how frequently this needs to be done. Poorly installed ranges with poor drafts soot up more quickly. Tools For Cleaning Soot Rake and Flue Brush 1. Flue brush should be used up and down the flue to allow soot to drop to bottom of flue. 2. Soot from top of oven can be brushed off to oven top down through cavity to bottom of range. 3. Using soot rake through soot door at the bottom middle front of range. Soot should be dragged from rear bottom of flue and LH or RH sides of range. It is very important that these passages are kept clear. First sign of blockage is smoke emitting from the fire squares and lids. 4. Because of intense heat fire square and lid discolouration can be treated when warm with salt free fat (such as mutton fat) or black boot polish.
